How to enable single sign-on (SSO)
If your company has implemented single sign-on authentication for logging into various accounts, look below to learn more about how to set up single sign-on to log into inFlow.
What is SSO?
Single sign-on (SSO) is a login/authentication method that allows you to log into various software solutions with a single set of credentials set up with a designated provider, such as Microsoft Entra or Okta.
Why enable SSO?
SSO reduces the need to create a unique password for different software solutions without compromising security.
Setting up inFlow SSO requires both your IT and inFlow administrators to connect inFlow with the SSO provider.
Before setup
Before you start, take a look below for some helpful tips.
- Who can enable SSO in inFlow? An inFlow administrator and the SSO provider administrator can set up SSO in inFlow.
- Which protocols are supported? OIDC protocol. SAML is not available at this time.
- Which providers are supported? Microsoft Entra ID, Google, Okta, OneLogin, or any SSO provider that supports OIDC protocol.
- What if the email address used for inFlow isn’t the same as the one used with the SSO provider? The email address used to log into inFlow must match the email address used for SSO. Team members can update their email addresses in inFlow’s Personal settings if necessary.
SSO is only available on higher-tier plans. To learn more, contact your customer success manager.
How to set up inFlow SSO
- With an inFlow admin account, log into inFlow’s Team settings (Main Menu> Options > Team). This email address should match the one registered to the SSO provider.
- Under Single sign-on, select Enable SSO, then toggle Enable SSO.
- Enter the Client ID, Client secret, and Issuer URL from your SSO provider.
- Below, toggle on Require SSO if you want all team members to log into inFlow with SSO.
- Click on the copy icon next to Redirect URL, then click Save.
- Go to your SSO provider and paste inFlow’s Redirect URL into the list of web redirect links.
- Return to inFlow. Log out and log back in to test the SSO login process.

Logging into inFlow with SSO
When SSO is enabled, take a look below for how to log into inFlow.
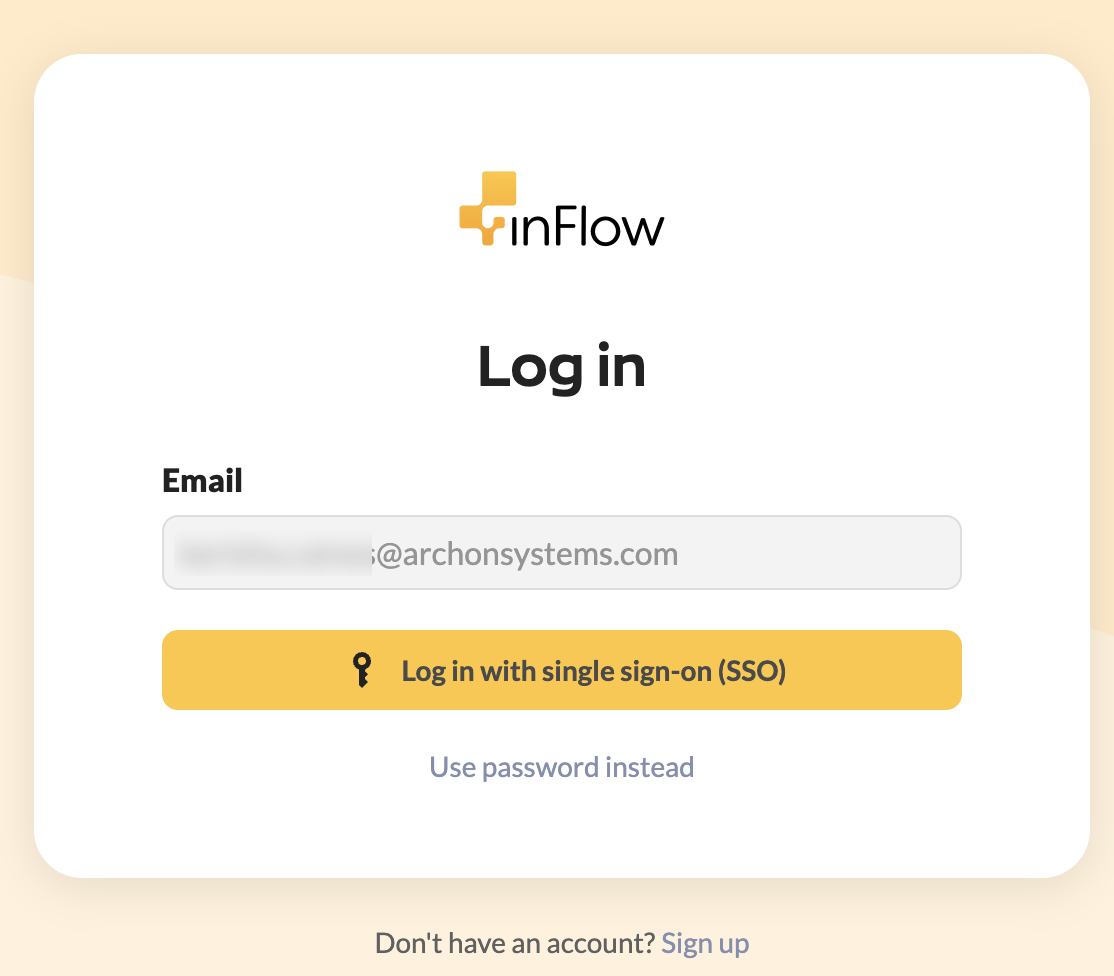
- Enter your inFlow/SSO email address, then click Continue.
- Select Log in with single sign-on (SSO).
- After completing the authentication steps, you’ll be logged into inFlow.
With SSO enabled, the logout behavior will change to enhance security. You will be logged out of inFlow when you close your browser or close inFlow for Windows.
How do you access inFlow if SSO isn’t working?
inFlow admins have the option to log in with a password if there’s a problem logging into inFlow with SSO.
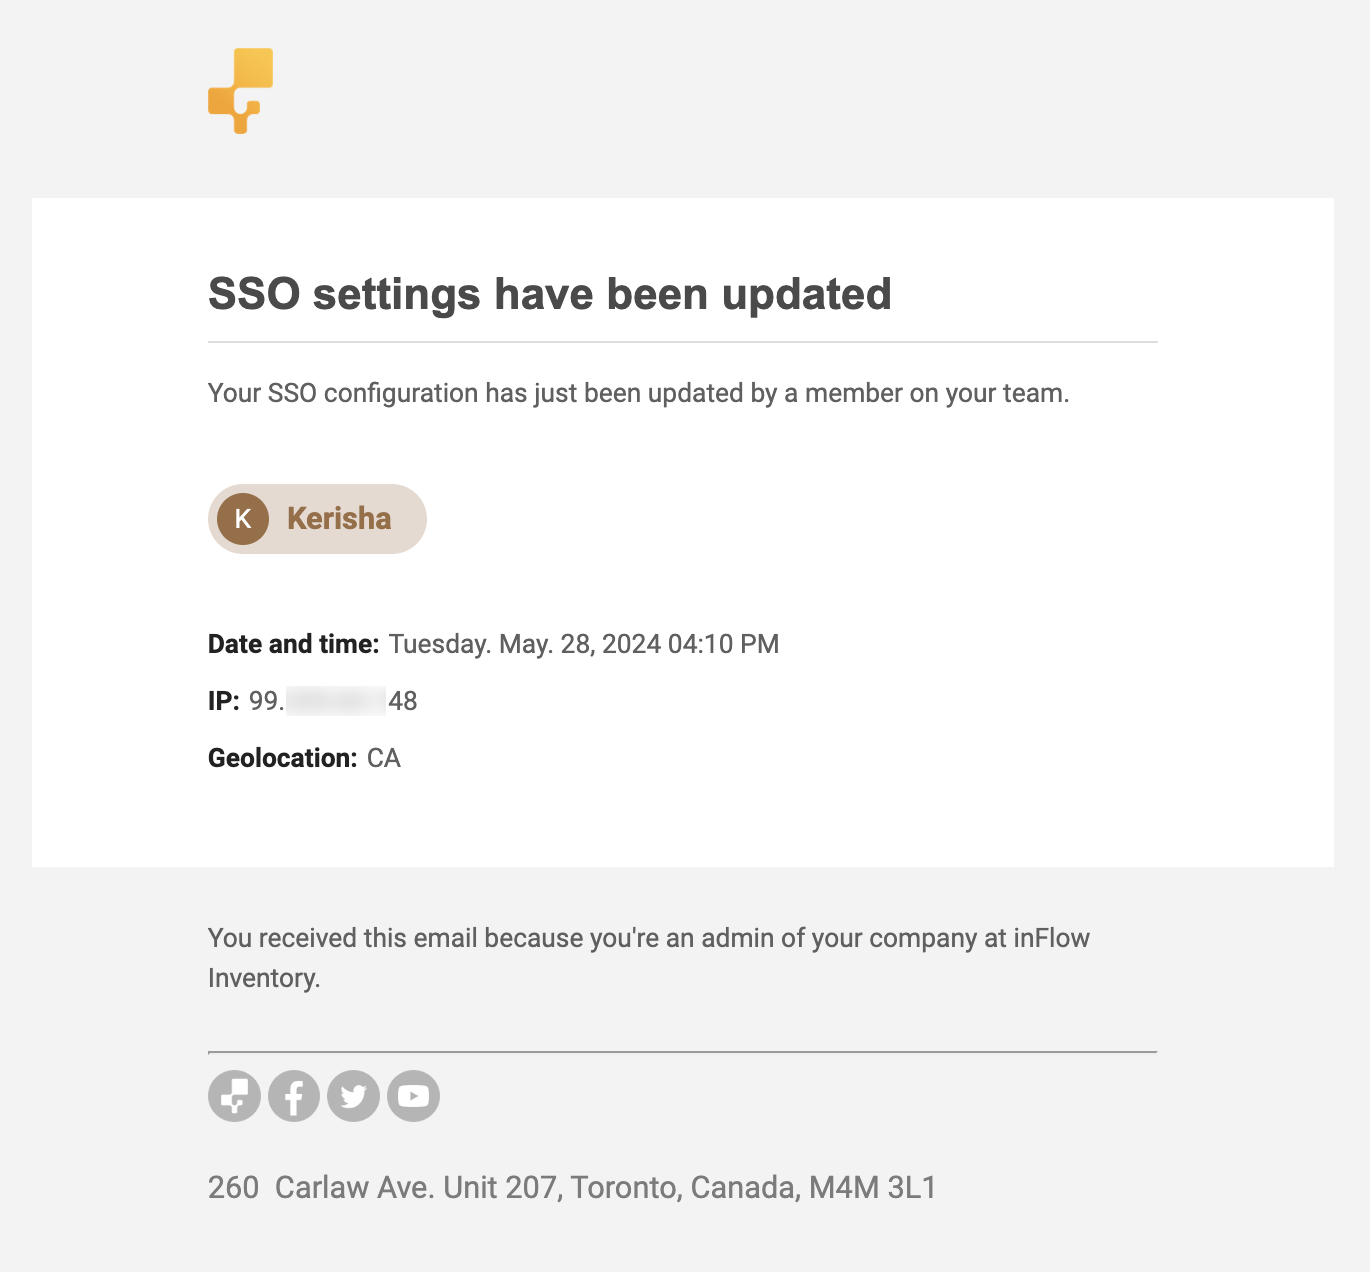
When an inFlow administrator logs in using their password instead of SSO, an email notification containing the user’s name, IP address, and geolocation is sent to all inFlow admins.
Managing SSO on the inFlow account
inFlow admins can change the SSO settings from the Team settings anytime. When an admin makes changes, all inFlow admins are emailed to notify them of the SSO changes.
Are there differences in adding team members with SSO enabled?
No, adding team members to inFlow remains the same. When new team members receive their invitation email, they only need to select the Accept invite button and then follow their SSO authentication steps to gain access to inFlow.
SSO providers’ configuration guide
The inFlow team has created a document to help your team configure SSO from different providers. Take a look below for those steps. We encourage you to reach out to your provider for the most accurate setup information.
You can download the guide from the link below.


0 Comments