How to add columns to orders (Windows)
You can’t add columns to the order window, but you can add them to the printed documents generated through the order.
This is done by creating a custom field in the product’s record, putting the information you want to add in there, and then using a custom document to display that information in a column.
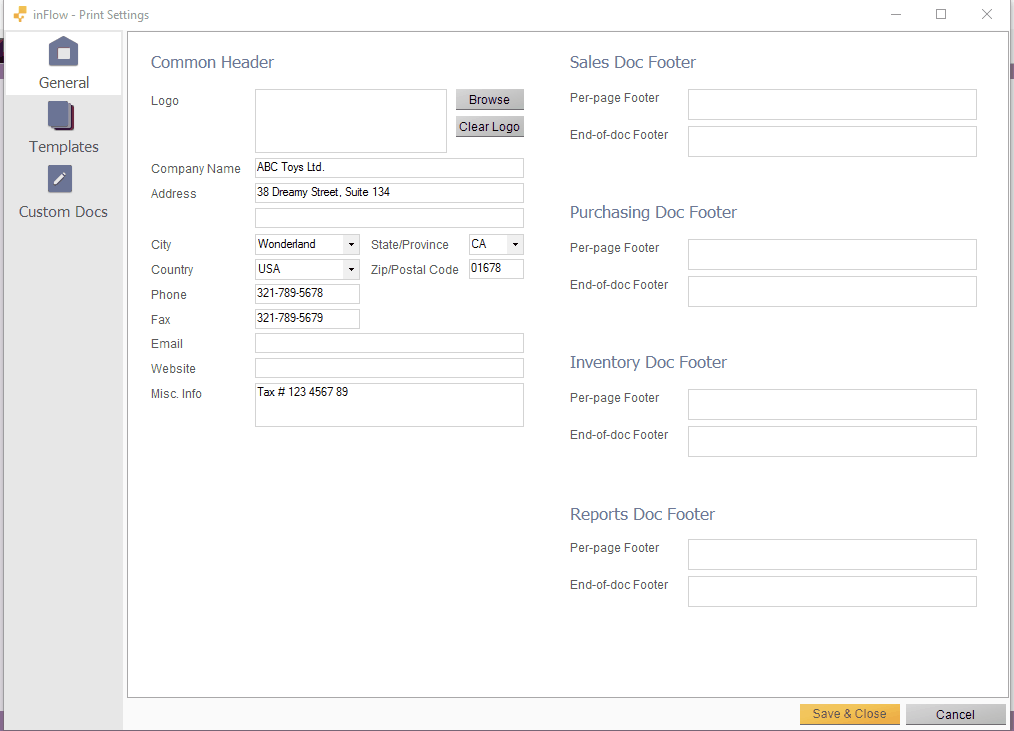
To demonstrate, we will use our sample sales document and add the “Manufacturer” column, added as a custom field under Main Menu > Options > Settings.
Opening a sample document
- Go to Main Menu > Options > Print Settings
- Choose Custom Docs from the icons on the left
- Click the Add New Custom Doc button.
- Choose the Sales document Header and Line items.
- Click Open Sample.
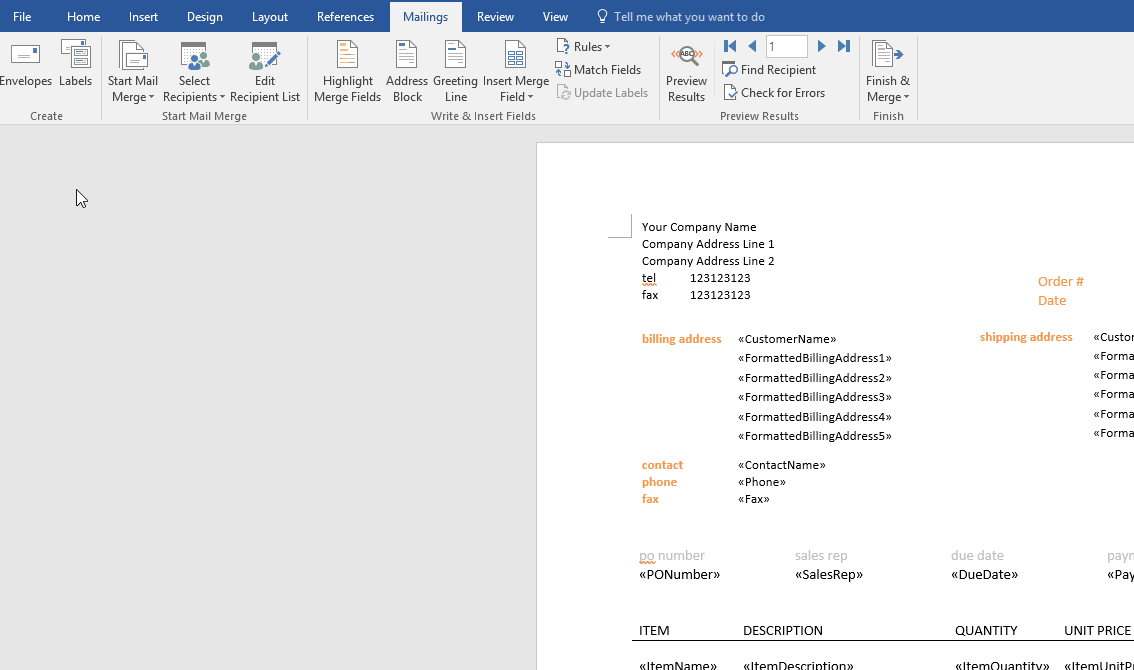
Once you’ve done this, it should open up in Microsoft Word. Next, we will need to link the document to a proper data source (which contains all the custom field information).
Looking for an easier option to add columns to orders? Then check out inFlow’s Document Designer!
Linking to a data source
- Open your sample document/template.
- Click the Mailings Ribbon and choose Start Mail Merge.
- Choose Directory from the list.
- Click Select Recipients and choose Use Existing List…
This will open a window where you can browse to the correct data source (CSV file). There are four available, which can be found in C:Users > [Username]> AppData> Local> inFlowCloud> app-2021.xxx.xxxxx> CustomDocument
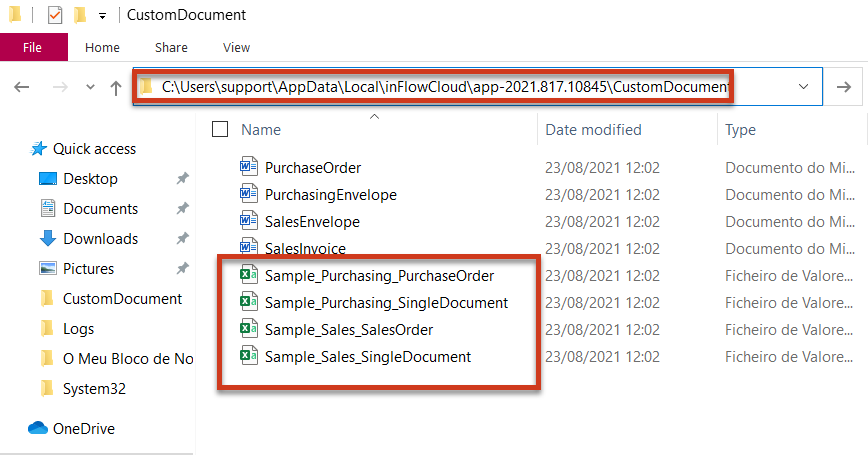
For this example, choose Sample_Sales_SalesOrderLines.CSV, it contains all the available tags from a sales order including items, sales pricing, sales order info etc. Now that you’ve linked your document to that source file, you can move on to the next section, adding a column & tags.
Add a column and tags
The body of the document contains a table for the product names, descriptions, prices, etc. Add a column and adjust the size/width. Then go to the Main Menu > Options > Settings > Custom Fields. Compare your own screen to this example screenshot:
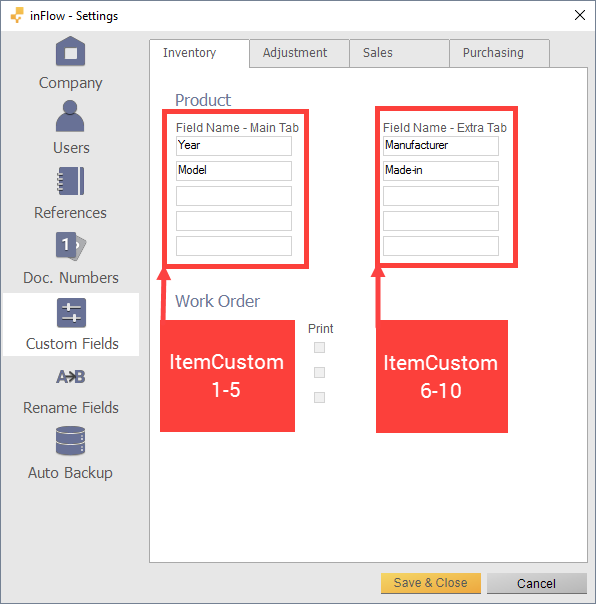
Referencing the above, if you wanted the column in your custom document to show the information listed in the 2nd position of your settings, then you would look for “ItemCustom2” in the Insert Merge Field drop-down selection in Microsoft Word.
In our example, we want to show the Manufacturer information, which is in the 6th position, so the tag we want to add is ItemCustom6.
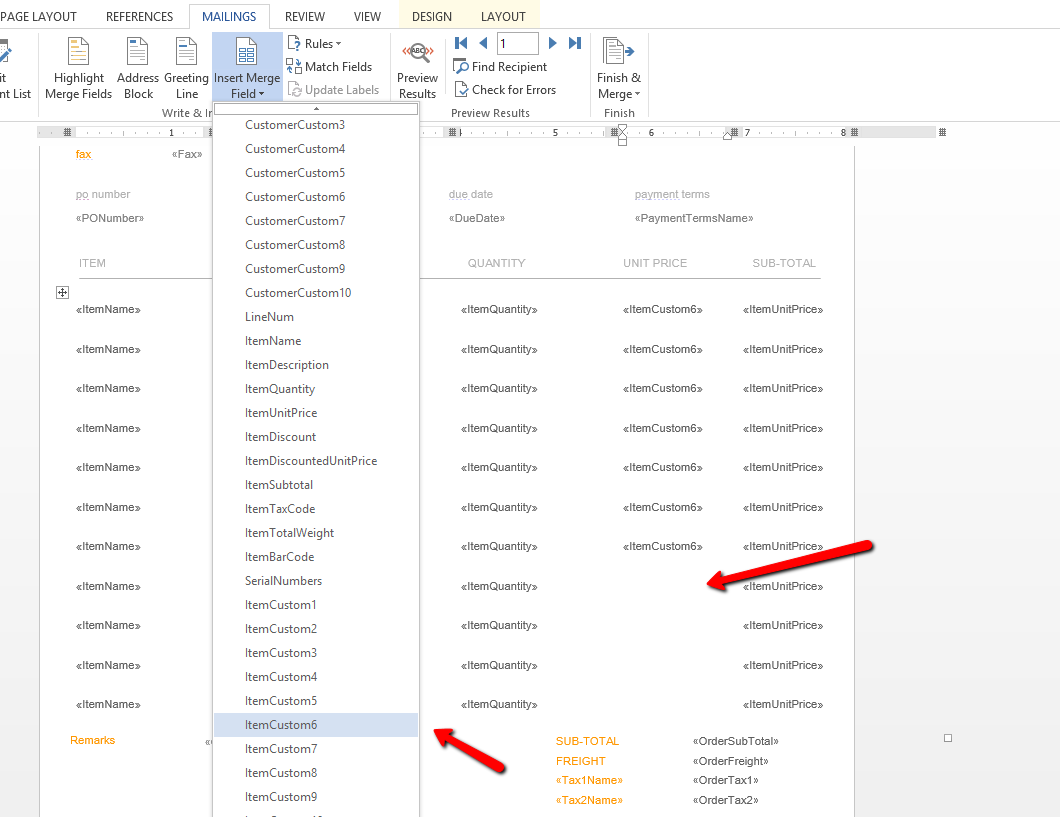
You might have noticed after adding a column, Word shifted the other columns to the right. It’s a little tricky to resize the columns to fit in the table, so we recommend replacing tags in an existing column. Here’s an example of the finished document with a custom column + tags. Replace the column with whichever tag you like by selecting it from the Insert Merge Field setting. Do not manually type in a tag name. It will not work that way.
When you’re satisfied with your document, import it into inFlow Inventory and begin using it.


0 Comments